Sunday, November 30, 2014

How to make a Jumbo Tootsie Roll

DIY Jumbo Tootsie Roll


My oldest daughter and I decided her Pee Paw loves Tootsie Rolls so much that we should give him a HUGE Tootsie Roll for Christmas this year!!!  So she and I got to work coming up with how to make one for him.

Materials needed: 

1. Empty Oatmeal container
2. 2 pieces of Brown card stock-I used 12x12 and cut it down to size
3. White card stock-I used normal sized for this
4. Glue stick, liquid glue, scissors


 Here's our oatmeal container and brown paper

 Here I measured how long the container was on the brown paper and that's my cutting line.

 Then I glued the brown paper to our oatmeal container, I did this with the glue stick so that it wasn't as messy and made a more even surface! (you will need to use two pieces of brown for your container, or at least I did, as mine didn't cover the entire circumference of the oatmeal container)

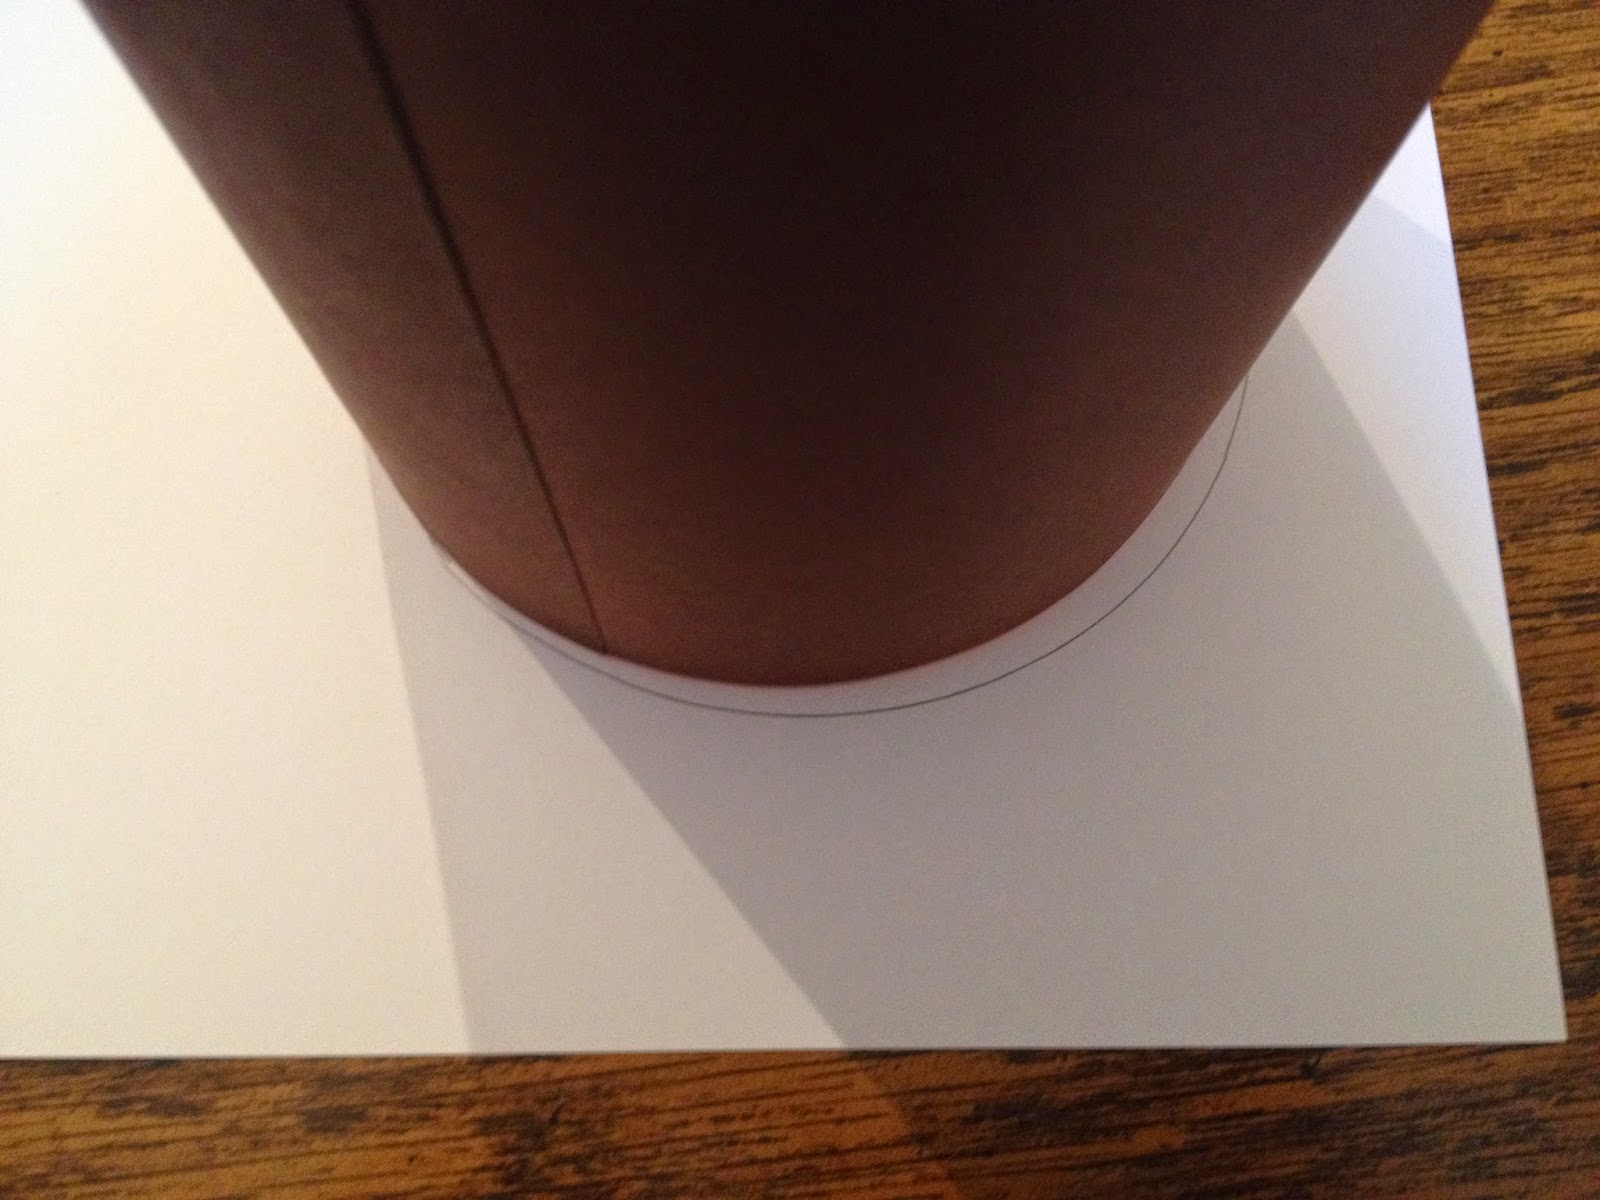
Here I traced the bottom of the oatmeal container onto the white card stock and cut this out to cover the bottom of the container, I attached this with the liquid glue because the surface was uneven and I wanted the glue to sort of blob up to fill in the cracks a little. You only have to do this for the bottom because you do reuse the lid from the oatmeal container.  My lid was already white and had nothing on it, if yours isn't plain then you may want to cover it with paper too!


From here my daughter painted on the Tootsie Roll name on one side of the container so that her Pee Paw would know what this brown tube was supposed to represent and we gathered all kinds of Tootsie Roll items to fill it up inside.  We took the Tootsie Pops out of the bag and bundled them together using a rubber band around the sticks and then put them upside down on some brown tissue paper, tied that with a ribbon and that made the brown package you see in the picture to the right.  We do plan to wrap all these items up and then stick them in the Tootsie Roll we just made, only because in my family we like to make present opening hard sometimes!!!  

But that's it a super easy craft you can do for the Tootsie Roll lover in your life!

Friday, November 28, 2014

Our Gift Ideas

Thanksgiving is done, now what???

Well, now that we have gotten the big Turkey day done I'm left pondering what I need to get done and when things need to be mailed.  I read somewhere that cards should be mailed by the second week of December and that parcel post packages I believe was the same.  If your shipping things priority mail or via any other faster service you still have lots of time.  If your wanting to save some money by shipping slower you only have......oh shoot, a WEEK left!!!!!

With that I'm going to share some of our crafty ideas we came up with this holiday season!  The first I'd like to show you are some cute items my oldest helped me "bling out" as she likes to say!


For these we simply hot glued bling to some cups and headbands that we picked up at our local dollar store!  My oldest did the design work for these and I did the gluing as per her instructions, she's only 7 wasn't trusting her to not burn her fingers on hot glue!!!  These are going to be gifts for her cousins who are approaching the teenage years and are just getting harder and harder to shop for!


 Next on our list...... Gifts for Grandparents:

One gift my oldest daughter and I came up with was making hot hands for the Grandparents.  I'd originally planned to just make them for the Grandmothers, but she said we should make them for both as everyone cooks not just Grandmas!  She's so right as the Grandpas cook just as much in our family!!!  So we took some oven mitts and made a simple and dare I say cheap craft!

Pee Paw and Grandma
 
We made two sets, one for each side of the family, mine and my husbands.  The oven mitts came from the dollar store which is why I said this can be done cheap!  They were a $1 per mitt, so $2 for each family.  I had the Puffy Paint I used on hand, but you can get it for pretty cheap at your local store or here . I liked the Puffy Paint because it is made for fabric and is nontoxic for using on my littlest ones hands. I did the bigger hand prints first, let them dry over night, then put the little ones hand prints on top.


Grandad and Mee Maw
To do the writing on the bottom I used this Print n Press paper by June Tailor.  It's awesome stuff!!!  You just go on the computer and design what you want to put onto the fabric and then print it out using the mirror image!  Don't forget to do the mirror image though as when you iron it down if you skip this then you won't get the right image on your fabric!  Yes, it does happen to all of us!!!  I always print out my image on normal paper first, make sure it'll fit and that I like it and then print onto the iron-on paper.  You don't want to print on the iron-on paper until your sure everything is right!  I should probably mention that I did the iron-on transfer first before putting the hand prints down.  I'm not sure how the puffy paint would react to the iron and I sure didn't want to find out :)

Gift basket ideas for Grandparents:

The next idea that my oldest and I came up with were our spin on gift baskets for them!  You see them all over pinterest and the internet where people make cute themed baskets for someone!  Well, we decided to do a bit of that too.  It's so hard sometimes to find gifts for my parents especially when they don't seem to need anything, so my daughter and I came up with two cute ideas!


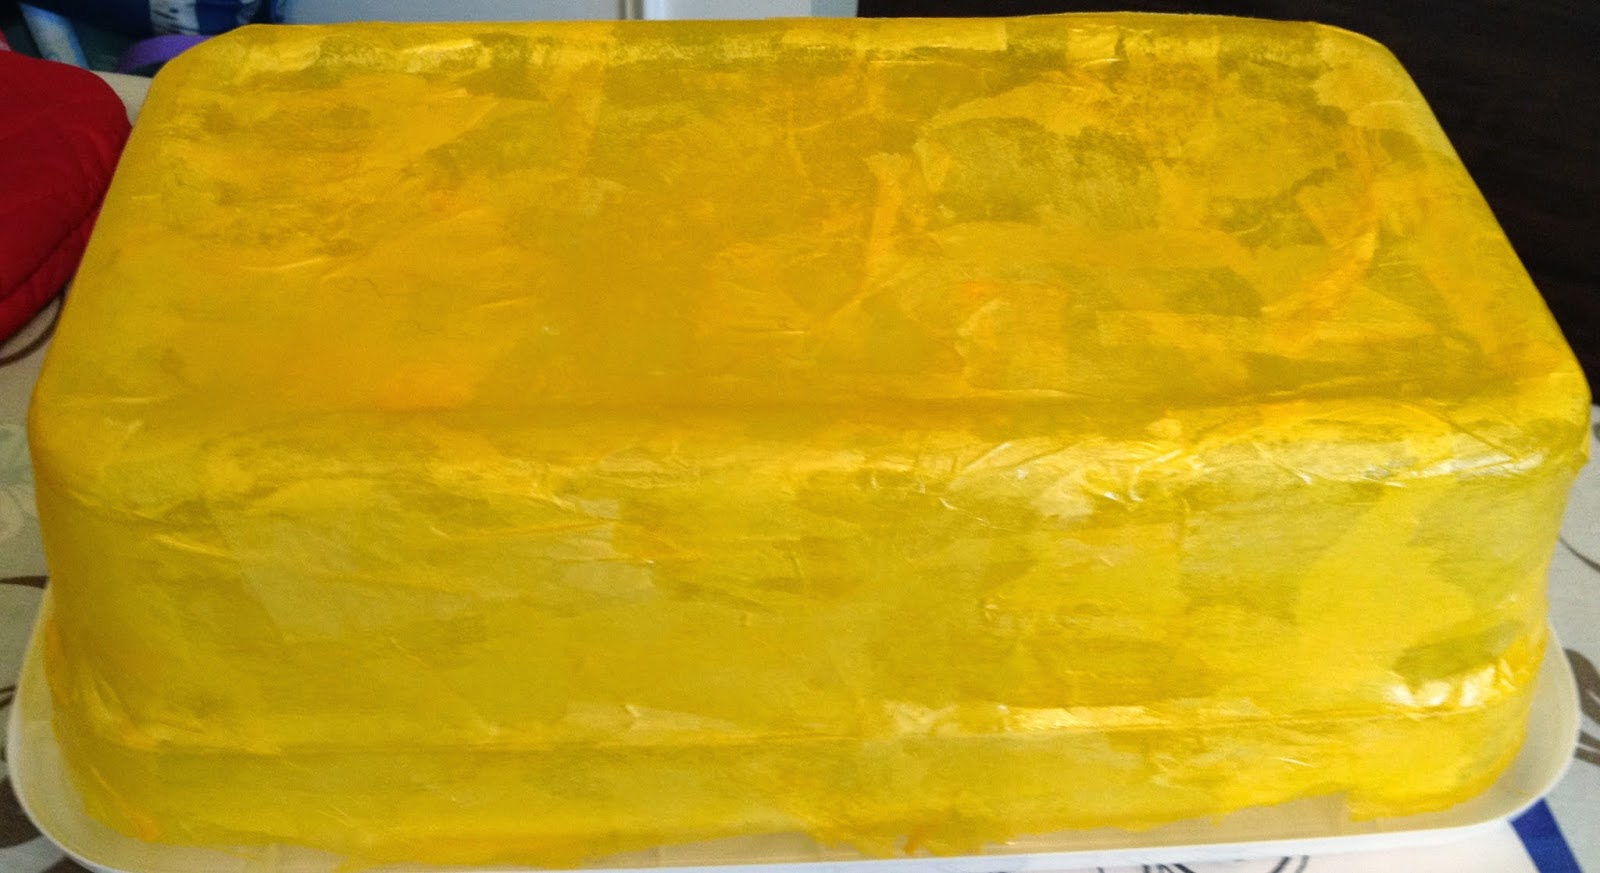
The first idea is for my Mom, it's a Sunshine Box!  For this we took one of those clear shoe boxes you can buy at the dollar store and we covered it in yellow tissue paper.  This was a bit messy, but made it that much more fun for my oldest because she was helping with the project!  We used Modge Podge which you can find just about anywhere, or it's available at Amazon here.  All you need to do is in small areas put down a coat of Modge Podge, then cover it in squares of tissue paper, add more Modge Podge to cover the tissue paper and seal it in, then move onto another area.  You do overlap as you go to get a full coverage on the container. 


We let that dry and it gave the box a nice yellow sunshine effect!  My oldest does plan to write on the lid "Grandmas Sunshine Box," but she hadn't done it as of my posting.  Once dry we took all kinds of yellow items we could find and that would bring sunshine to Grandmas day!  We chose mints with smiley faces on them, yellow note papers, candy canes, manicure set, socks, hair thing, tissues and lots of other yellow items we could find (see photo to left)!  My family is big on wrapping even the tiniest items for Holidays, so we plan to wrap almost everything going into the box too!


The next "box" idea we came up with was for my Dad who loves Tootsie Rolls!!!  We made a giant Tootsie Roll, to be filled with assorted Tootsie Rolls.  I'll post a quick tutorial for how to make this in a little while, but here's our finished product and the assorted Tootsie Roll items we plan to wrap up and put inside.
(edit: the tutorial is here for anyone who wants to make their own!)

My oldest wanted to paint the name on the side and course I let her!

The brown bundle in upper right corner is Tootsie Pops that I bundled together and then wrapped in tissue paper


Both of these "boxes" were a lot of fun and gave my daughter and I some bonding time while we worked with the glue and came up with the ideas to put them together.  I'm so glad that she's already into crafting and learning new things, but also I'm glad that I'm able to show her that we can make some great gifts if we put our minds to work and put a little effort into it!

Sometimes it's not what you give the person it's the thought that counts, and we put a lot of thought into these gifts that I'm sure our family will love and appreciate!!

Monday, November 24, 2014

It's always a good reminder...


This time of year we are always consumed with messages of thanks, images of people helping, and reminders of being thankful! It's Thanksgiving and yes it's a great time for a reminder, but we really should be thankful ALL year round!!!

I read the following article today which stemmed from me reading an article on the same page about raising moral children.  Well, this article is about being gracious and grateful. It talked about being smart about timing your Thanksgiving meal and being sure to prepare your kids for the difference in schedules. It did also mention teaching your kids about how they should thank people for the gifts they receive even if they don't like them.  All of these are good things, but it also mentioned kids learn from us!

Let me repeat my last sentence:  KIDS learn from US!!!! So, when someone holds a door for you, offers to let you go ahead, brings you cookies, comments on your cute top, ANYTHING, you should also say Thank You! We get on our kids for this all the time and tell them to use their manners, but do we use them? I'm not saying I do all the time either and there are times I feel too tired to acknowledge someone, but the kids do see this.

One of my biggest pet peeves has been (and probably always will be) people not even acknowledging a good deed or a gift sent. I get it; we are all busy, but in today's world we have so many outlets.  Even a simple text message to say Thank You is better then nothing at all!!! I like to know my package has arrived to the person I sent it to, or that they appreciated my going the extra mile to help them out. Yes, we do tend to say Thank You to the person when we are face to face for the gift being given or the deed being done, but I tell you what:  sending a note a few days later.....that will really drive home the idea that you appreciated what was done. 

I know the times of actually writing out a Thank You card are almost a distant memory, but I still make my daughter write Thank You notes for gifts she's been given. When she was smaller I'd have her draw pictures for the person who sent it. We slowly progressed to actual written thank you notes acknowledging the gift and saying Thank You for it. Sometimes we video message the gift giver now, because let's face it technology is awesome!!!! But we do tell people Thank You for their gifts no matter how small and sometimes we even write Thank You notes too. Usually for Christmas and Birthdays where lots of gifts are always given I make sure to have the kids do Thank You notes in addition to Thank you calls, texts, videos, whatever we do the day we opened them. It's all about being sure the person giving knows we appreciate the efforts and that my kids don't just think they can get stuff without being thankful for them. It's hard to slow down and write a note; it's even harder to get the kids to sit down and do this. You can space it out and not make them write ten notes in a day, but be sure they do thank everyone who does or gives them something.

Need a cute printable Thank You note? I found some here.  They are adorable and 4 per sheet so you have plenty to get started.


My title mentioned a good reminder.  Thanksgiving is always a good reminder to us all to be thankful and count our blessings! I want you to take it a step further and remember it year round!!! Try to make an effort to send a random note of thanks in say, July. Don't forget to include the kids in being thankful! 

I'm having my oldest write a note every day this week of what she's thankful for about her daddy. We do things like this all the time; we actually have a frame that says "I love you because...." and we fill it in with different reasons all year! 


We switched it to say "we are thankful for daddy because..." Just trying to embrace the thankfulness of this time of year and she's off of school so it's a good time to have her changing it out daily!

So I'll leave you with this thought:  while its great to be reminded during the holidays to be thankful, please try to remember throughout the year and show your kids ways they can appreciate what's done for them too!

Friday, November 21, 2014

A Mending I will go......

 First, I wanted to share my adorable view when I got to starting my current sewing project.

My little Missy was just happy to be in same room with me while I worked on things, she likes to trap me where I am by spreading all her stuff out around me!!!

On to my Tutorial:


Mending 


I decided that I needed to get to work on some mending for my older daughter, she is so funny because she knows that I can fix her clothes so she just piles her stuff up when it rips and has them set aside for me to fix.  I guess it's good that she knows that I can fix her clothes instead of thinking they are ruined and we have to throw them away :)

So I had to stitch up the collar on her night gown and fixed it back up for her so she can wear it again.  This was a simple just matching the thread best I could and re-sewing the bias tape down on the collar of the night gown.  The thing that gets me though is this is not the first thing to be mended on this night gown, so glad I didn't pay much for it, but man it's fallen apart a bunch :(

The other thing she had in my to do list was a cute skirt that she got from a friend of ours, the skirt had a slit sort of torn into it on the side.  My daughter was so cute because she saw it and was like mom you can fix this right?!?

this is the slit in the skirt
Well, of course I was willing to figure out how to best fix this for her!  The first thing I did was cut all those extra strings off to make it a clean area to sew over.

Now that it's all nice an cleaned up I did clip as many of the little white threads as I could off too.

This is the back side of where the slit was which is at a nice spot where the fabric overlaps and you can't really see the slit from this side.

Next I pinned the slit closed so that it would be easier to stitch shut.

Set your machine to a zig zag stitch on my machine it was stitch number 5 in the middle and then I set the length to a 1 so it's the shortest distance between stitches and then width I actually readjusted after doing the first line, so I ended up with a 4 width.  (this is why they tell you to do a test stitch on some things first, but I figure it just secured my slit down that much more having stitched it twice.)

Here you can see there is still a little white showing through I could have adjusted the stitch width again to a 5 maybe and it would have fully covered the slit edges to where you didn't see any of it, but I think this looked fine.  I simply zigzagged down the slit twice in my case, but if you get the width to your liking the first time, once would be enough.

This is the inside of the skirt my line is the darker longer line towards the middle of the picture, I think it blends in pretty good on the inside!  Oh and be careful if your skirt has shorts or a liner inside it, that should be moved out of the way when fixing the skirt don't need to sew it too. That's the black fabric you see at the top of the picture these had shorts lining them.

here's the skirt from a bit further away (slit is on right side of picture)
Here's the skirt with where the slit actually sits, I love that it actually fell to the side of the skirt so it's not very noticeable at all!!!!

 So there you have it a quick tutorial on mending torn denim.  This would probably work for torn knees in jeans too, but would be much more noticeable.  My daughter was obsessed with me putting patches on her knees when we got some hand me down jeans that all had holes in the knees so we cut out cute shapes and appliqued them on her pants.

Her favorite pair to wear were the Dinosaurs!!!


Sunday, November 9, 2014

What to do next?

I can officially say that at least for today, I think I'm done with sewing projects for Christmas gifts this year! There's still well over a month til the big day though and a few people I need to figure out gifts for so the possibility is still there for more sewing.

I'm going to have to figure out what I want to tackle next, a simple quilt top I've been waiting to complete, a quilt top that just needs to be what they call sandwiched and quilted together, something off pinterest that I pinned in hopes of making one day?!? I really am not sure, but we have family in town for the long weekend so I have time to think about it.

I made my girls and nieces cute wallets as one project this year and you can find my tutorial here.  Another gift I made for Christmas that my older daughter asked me to make were hooded towels. I used this site to get the tutorial on how to make them and my oldest asked for an angry birds yellow bird and my youngest loves Olaf, so those were the two I made! I also made a penguin for my nephew which I'll have to find the picture of and add very soon! The site explains really well how to make them and I won't try to redo any of it as she did a fabulous job. I'd actually had to come up with a template for the angry bird face and can scan it in later on if anyone's interested! So I'm off to spend time with my inlaws and I leave you with photos of how two of my hooded towels came out! 


Wednesday, November 5, 2014

How to Make a 4 card Gift Card Holder or Child's Wallet

So the other day I mentioned I was making my girls wallets, they are actually going to be for Christmas presents, but I like to work on things early in case I make mistakes!  Above is the first finished product!  This was also my trial wallet, I took the original idea from here  and modified it a bit to hold more cards and I added a Velcro tab closure.  I plan to make a few more hopefully this afternoon with the button closure like the original tutorial, but this first is for a 2year old and she'll do better with Velcro.  Okay, on to the tutorial, please keep in mind this is my first tutorial, so if you have questions feel free to ask and I will clarify!!!  I'm also not going to post every single step (I think I came close to posting all the steps though), but the original did a great job. My plan was to type up only my changes and I think that's what I mainly did!

Kids Wallet, Gift Card Holder

Materials:
  • interior and exterior fabric cut to 6" by 5" (I used hello kitty for both these)
  • 2 pieces of pocket fabric cut to 6" by 4"
  • fusible interfacing cut to 6"by 5"
  • tab fabric cut to 2 1/2" by 2" 
  • 1 piece of Velcro cut to 1/2" by 3/4" (my Velcro was 3/4" wide so I just cut it 1/2" long)

 You can follow the original tutorial to begin your holder, fuse the interfacing to the exterior fabric, make the tops to the pockets just the same as she did just for two instead of one, but then stop before doing anything else!  

Making Tab Closure

To make a tab closure for your holder instead of using the hair tie options as the original you will take your tab fabric and first fold down just a tiny amount on one short end and iron it down.  I also stitched this small piece down, you don't have to and I feel like in the end it just added more thread showing on my tab since I didn't use a thread that blended in.  So it's up to you if you want to stitch it, it's not necessary I had chosen to in order to keep the end in place better while making the tab because I've found in the past sometimes the end wants to come out while ironing.

After I sewed the small end down I ironed the strip in half.


Then I ironed both long ends into the middle to meet the first line I made with my ironing, you can see the stitches I made on the short end on the left side still. (side note: I only stitched and folded in one short side because the other side will be stitched within the seams of the wallet)


Once you have both sides ironed into the middle you sandwich it closed so all the raw edges are in the middle and you have nice neat folded edges showing and iron it one more time!


Then simply stitch down the long and short side you folded in to close up your tab as close to the edge as your comfortable with, usually I would stitch both long sides, honestly not sure why I didn't notice I missed that until now.  You don't have to of course, but normally you would stitch up the open long edge across the open short edge and back down the other long edge even though it's closed it just gives your tab a more finished look.

I also attached the softer piece of Velcro to the closed end of the tab after I had sewn it shut at this point.  Just make sure you leave a little space at the end of the tab to grab the fabric so there's something to pull up on, if you look closely you can see I left a little edge of the short end then sewed the Velcro down.

I also took this time to measure out and place my Velcro on my exterior piece of the wallet, (my interfacing is already ironed on just like in original I did that first).  I measured 1/2" from the right hand side and measured 3" down from the top I sort of eyeballed centering the Velcro over where the 3" spot was (not pictured) and placed my Velcro  (make sure you position the Velcro with the 1/2" measurement going up and down)


Next because I wanted to make my holder have an extra pocket I laid the first pocket down on my interior fabric a half inch from the bottom and sewed a straight line just along the bottom edge.  I had done this pretty close to the edge of the pocket fabric and realized that once complete the card goes almost all the way behind the top of the pocket, so I would sew your line about a 1/4" from the bottom edge of the pocket fabric.


You can see  in the photo below the line is right along the bottom of the pocket fabric, this made my top row of gift cards only show a little above the top of the pocket, so definitely sew yours down about a 1/4" from the edge of the pocket fabric and that fixes the problem in the end.  (I tried this and posted more pictures of completed wallets at the end, but if you move the sewing line from the edge to the 1/4" away it's perfect) 

original sewing line is to low the cards won't be as visible when completed


sewing line should be at 1/4" from edge, note this is not to scale, but sew where black line is

 You also may have noticed I did a decorative stitch along the top of my pocket, I hardly use the decorative stitches on my machine and just decided to play around with it! If you choose to do this too I recommend you sew with the right side of the fabric facing up so that the stitches look their best.  When you iron down your folds for the top of the pocket it puts a crease in the front that is visible and gives you a sewing guideline to follow!

Now from here I starting following the other tutorial again. I just layered my bottom pocket on top of the pocket we sewed down and then layered the tab with the Velcro side down and a little bit hanging past the edge directly in the middle on the right side (pictured below) and then layered the exterior fabric face down on top of it all and pinned together to sew up the three sides just like she did.


Since we have an extra pocket once you've sewn up the 3 sides yours will look like this on the inside.


 This will be your outside with the Velcro and the tab showing.


Just like in the other tutorial I flipped my bottom pocket to make the wrong side showing and then stitched it across the bottom, so when you do this it will look just like the other one on the back where you just see the wrong side of the bottom pocket fabric.


Then flip it right side out and measure exactly down the middle, and you know what they say "measure twice cut once", well, in my case "measure twice sew once", because I almost sewed this up not evenly down the middle, oops!


 Once you've stitched down the middle you are done!!  You can now enjoy your handy work!

This is my completed card holder with some random cards in it and you can see how you can barely see the top two cards, but I think just moving your stitching line a little bit away from the edge will fix that no problem!

Exterior Opened


opened interior view


Bird Wallet and Cupcake Wallet
Inside of Bird Wallet (top) and Cupcake Wallet (bottom), you can see here that the cards on the top are more visible once you move the stitch line to 1/4".